
 Sam Howarth
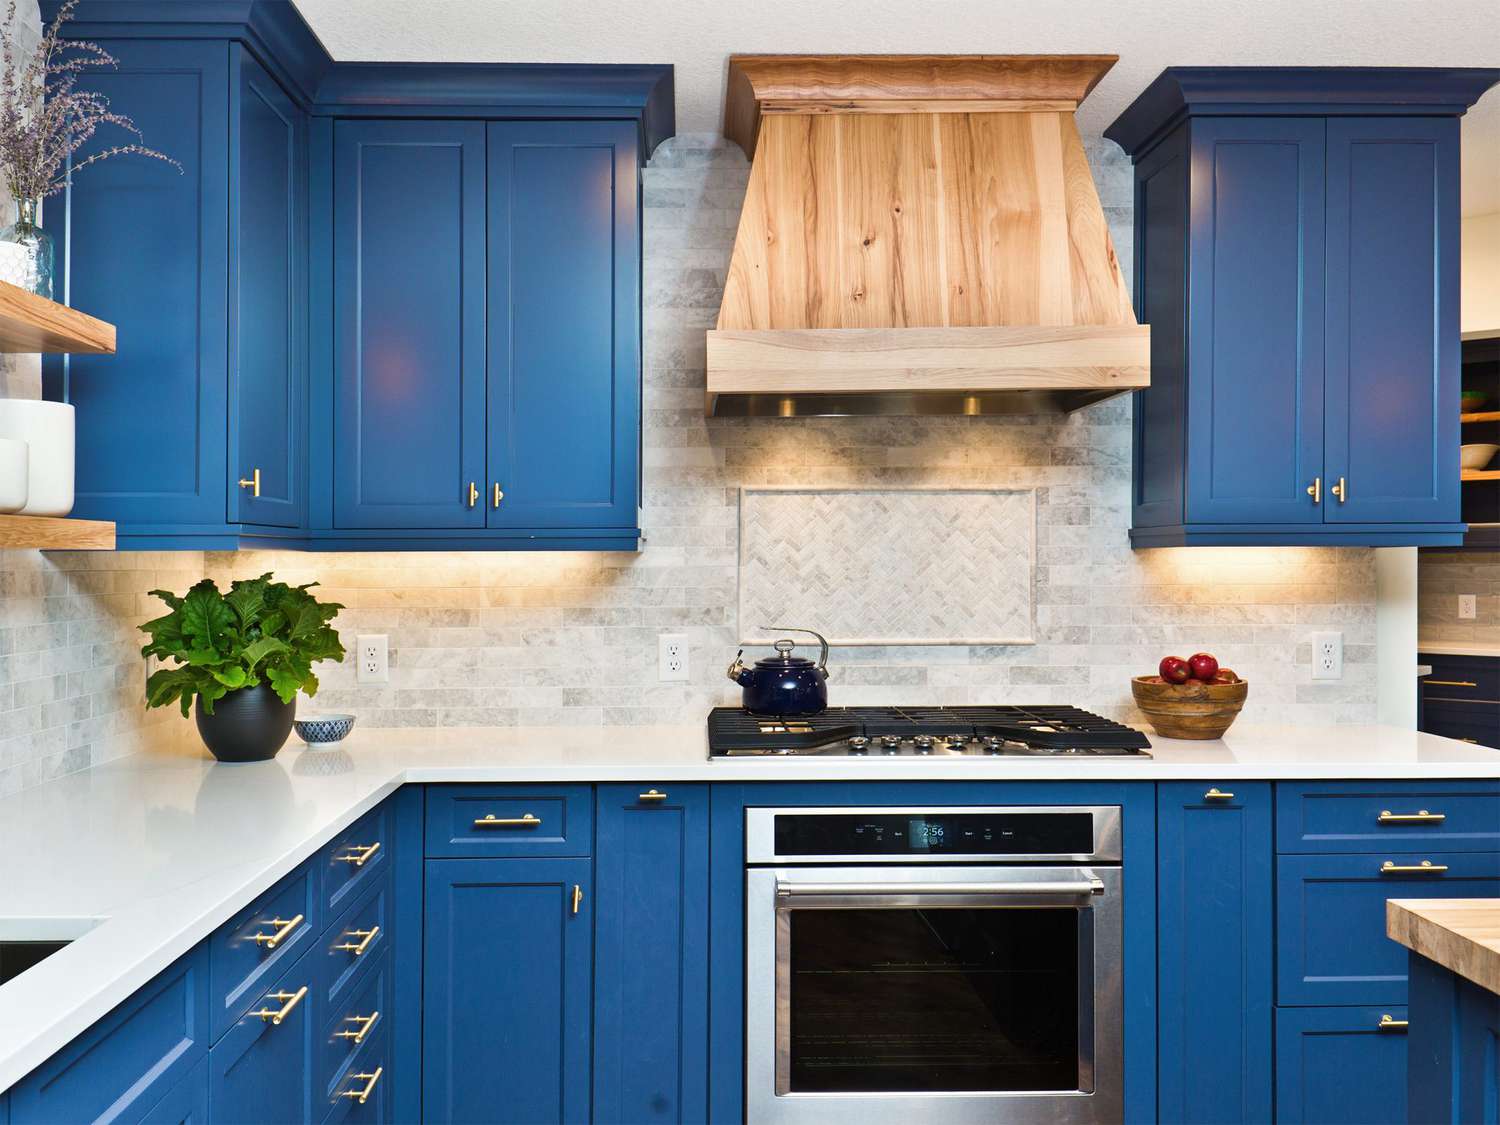
Painting kitchen cabinets is a great way to update a room for less than the cost of installing new ones. But it’s important to do it correctly to ensure that your cabinets last for years.
The most common cabinet paint mistakes that DIYers make include: Not cleaning and sanding thoroughly. Not using a urethane-enhanced enamel that’s easy to clean.
Preparation
Cabinet refinishing requires a lot of work and time. So, plan ahead and set aside plenty of it! Before you begin, take inventory of your kitchen cabinets to determine what needs attention. Addressing issues early on will save you time and money in the long run.
Thoroughly inspect your cabinet surfaces and note any cracks or dents. If you find any, repair them now to ensure a professional finish when it’s time for paint.
Using fine-grit sandpaper, gently sand your cabinet doors and surfaces to create a smooth, paint-ready surface. This will help the new coat of paint adhere and help avoid peeling later on.
Next, set up a painting area in your garage or a well-ventilated outdoor space. Cover countertops and appliances with drop cloths or tarps to protect them from splatter. Masking off areas that won’t be painted with painter’s tape is also a good idea. Finally, open windows and make sure there’s plenty of ventilation so the paint fumes can dissipate.
Primer
The best way to ensure a durable finish is with a primer-sealer. This helps bond surfaces for a clean, even coat and reduces the need to sand and deglaze old finishes.
You can use either oil-based or water-based primer. Water based primers are low in VOCs (volatile organic compounds) and have no strong odors. Oil-based primers provide the strongest seal and stain blocking properties, but can be toxic when inhaled or dripped onto surfaces.
Once your primer has dried, lightly sand the cabinet surfaces with a foam sanding block and 220-grit sandpaper. Wipe the surface clean and allow it to dry completely before applying a second coat of primer. If you are painting cabinets with a high sheen, such as semi-gloss or gloss, apply the finish after the primer-sealer has dried. Allow the final coat to dry for 24 hours or more before reattaching the cabinet doors and reinstalling hardware.
Paint
A good paint is essential for getting a professional finish on your cabinets. The type of paint you choose will depend on your cabinet material, color and style preference. You may also consider a trendy option, like chalk paint, which offers a matte finish and is easy to clean.
Before you begin painting, carefully inspect your cabinets for damage. If you notice major cracks, dents or structural problems, it’s best to repair them before painting. This will ensure a smooth and long-lasting finish.
Using a foam sanding block, lightly sand the surfaces of your cabinets, drawers and doors. A light sanding will give the primer something to adhere to and remove any dirt from the surface. Vacuum and tack cloth the cabinets again before applying the first top coat.
Allow the top coat to dry at least 24 hours before adding a second coat. Once the paint is dry, you can reinstall your cabinet doors and hardware.
Finish
In a kitchen, cabinets take a beating from cooking heat and food splatters. A good quality finish coat, in a color that you love, can make all the difference. A primer-sealer, such as KILZ 3(r) PREMIUM Primer, will help prevent paint chipping and peeling, and it will also resist mildew growth in moisture-prone areas.
A light sanding of the cabinet surfaces after priming is a good idea to prepare them for painting. A foam sanding block with fine-grit sandpaper will do the trick, and when you are done, be sure to wipe down the surface to remove all sanding dust.
If you’re not a brush painter, try using a mini roller with mohair or microfiber sleeves for the smoothest finishes. You can find these at most home centers and paint stores. If you’re a beginner, I recommend starting with a roller and working your way up to a brush as you gain experience. Using a roller can save you time, and can give your cabinet doors and drawer fronts a more even look.